STEP ONE: PREP
1. Choose the right timing
Plan your tan smart: Remove hair (shaving or waxing) 24 hours before tanning .
Other beauty treatments like pedicures, waxing, peels, or hairdressing? Always do this before your tan, never after.
2. Hydrate the days before
Use a light body lotion daily. Hydrated skin absorbs the tan better and holds it longer.
3. Prepare your outfit
On the day of your tan, choose loose-fitting, dark cotton clothing . Avoid tight-fitting straps, socks, or leggings that could leave streaks in your tan.
4. Scrub your skin & take a shower
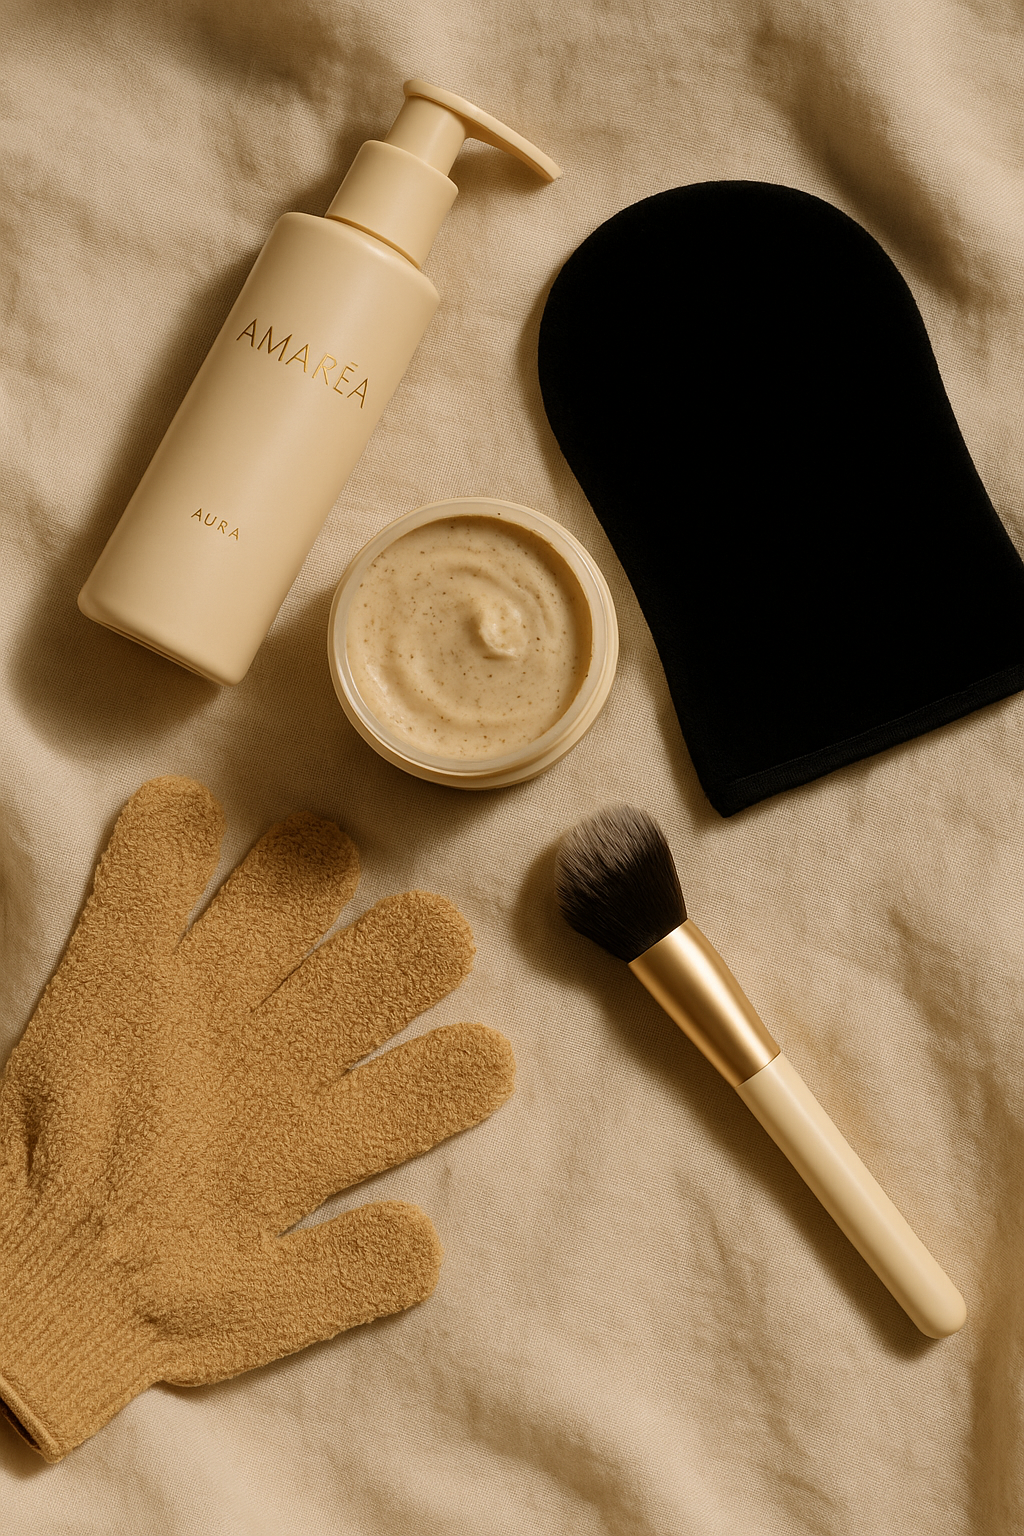
The day before your tan, exfoliate with Amaréa VELA mousse and the MANO glove .
This removes dead skin cells and old tan residue. Just before applying, take a short, lukewarm shower with an oil-free cleanser .
Avoid harsh soaps, perfumes, or body oils, and if necessary, rinse briefly with cool water to close your pores. Pro tip: Rub an ice cube along your legs—yes, it really helps prevent spots on your legs!
5. Protect nails & dry areas
Apply Amaréa AURA thinly to nails and cuticles to prevent discoloration. Also apply a light layer to dry areas such as knees, elbows, ankles, and the backs of your hands . This prevents these areas from becoming too dark.
6. Ready, set… TAN!
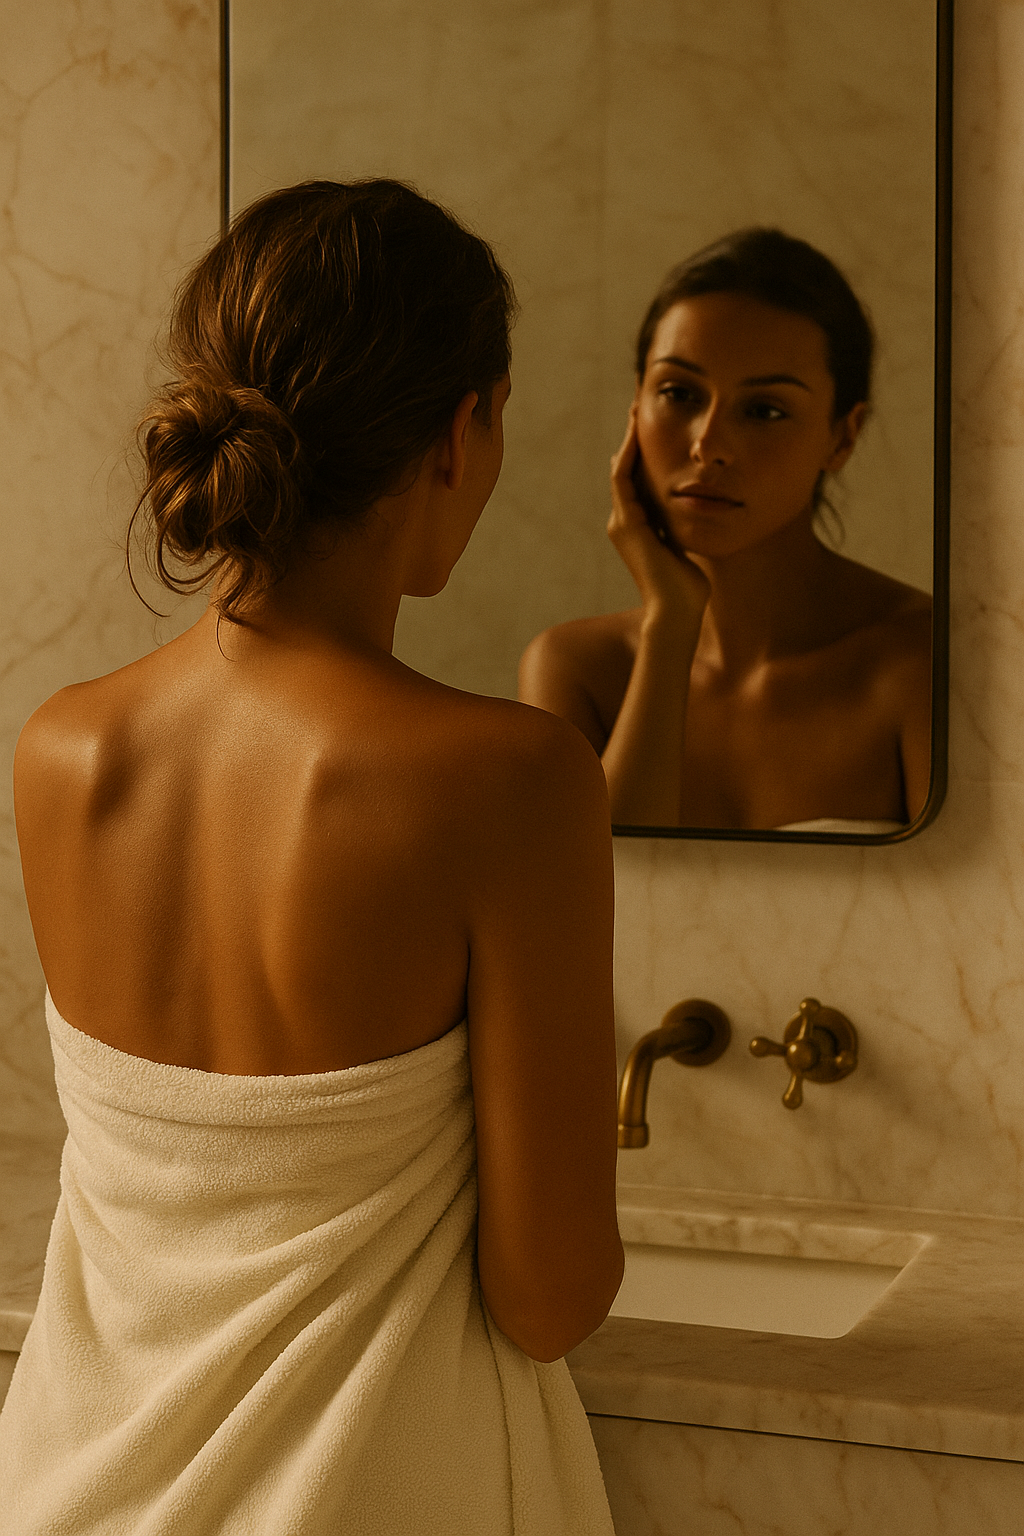
Your skin is now perfectly prepared. Time to create your Amaréa glow.
✨ “A flawless glow starts with the perfect base – prepare, polish & let your skin breathe.”
STEP TWO: APPLY
1. Work in layers, not stacks
One thin, even layer is sufficient: your skin only absorbs a limited amount of tanning molecules. Want more intensity? It's better to build up gradually rather than multiple layers at once.
2. Use the right tools
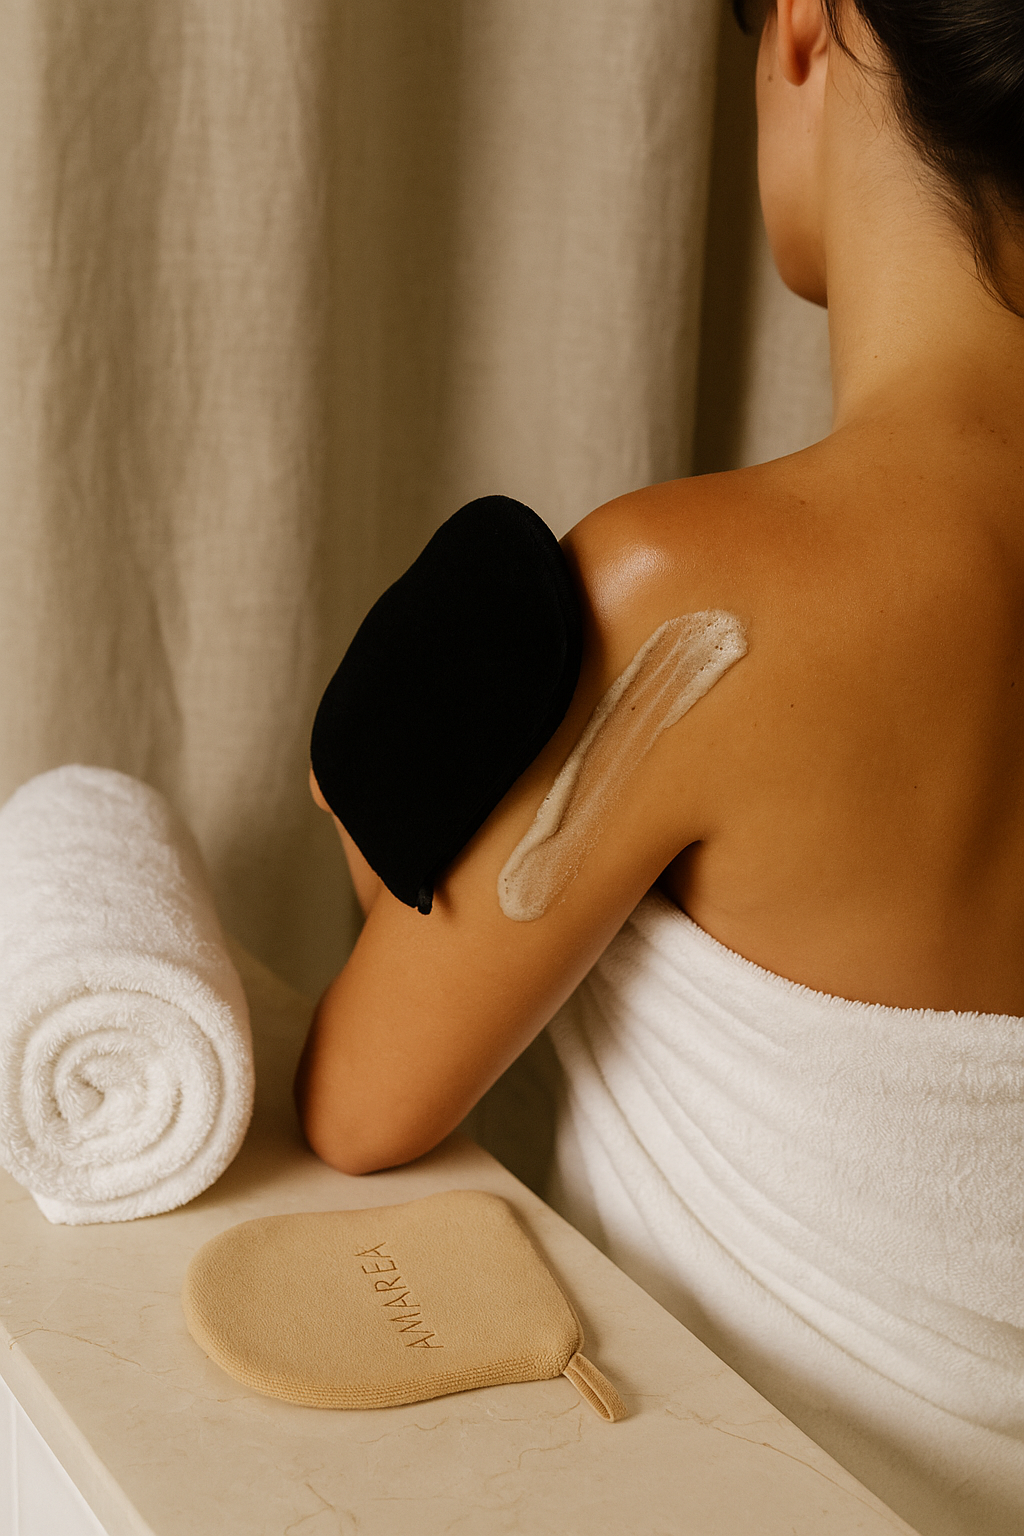
Apply your mousse with the Amaréa MANO glove for flawless, streak-free application. For the face, wrists, tops of hands, and ankles: blend with a PIUMA soft brush for a natural look.
3. Work in sections
Start with your legs, then torso, arms, and finally your face. Always work from bottom to top to avoid accidentally smudging your fresh tan. Pro tip: apply a very light coat to your hands, as they tan very quickly! First, apply your arms and any remaining tan from the mitt on your hands. DO NOT apply extra.
4. Blend the sensitive areas
Time to blend all the areas thoroughly—blend is key! Hands, ankles, and face.
5. Keep the face lighter
The face always takes more intense focus than the rest of the body.
6. Final touch
Last minute, check in good light that you've covered all areas: the sides of your hands, neck, and ears. After application, wear your prepared .
Extra tip: Keep your arms natural
Apply the mousse to your arms, focusing on the outer edges and edges . You can deliberately keep the inner arms lighter or just use the remaining mitt/brush. This will give your tan a more natural look, as the inner arms are naturally lighter as well. This also prevents harsh transitions at the wrists and hands .
✨ “Less is more – let the inner arms breathe for a soft & natural glow.”